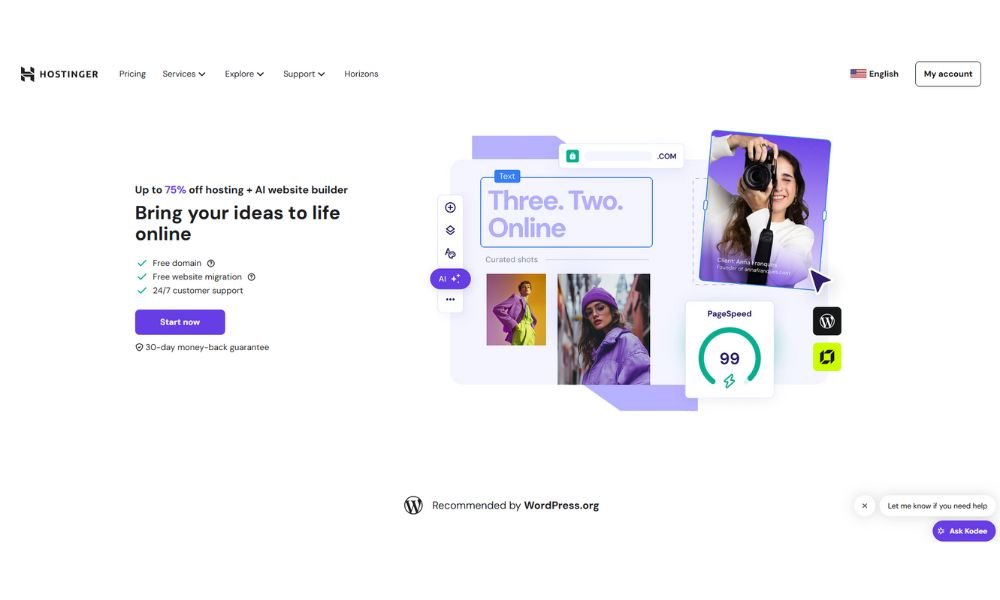
If you want to build a website, blog, or online store, WordPress is the easiest and most powerful platform you can use. More than 43% of all websites on the internet are powered by WordPress. Pair it with Hostinger’s beginner-friendly hPanel and you can have your website live within minutes.
In this guide, we’ll show you exactly how to install WordPress using hPanel in Hostinger with step-by-step instructions, along with tips for what to do after installation.
Why Install WordPress with Hostinger hPanel?
Hostinger makes WordPress installation effortless by providing a one-click Auto Installer inside hPanel. Compared to cPanel, Hostinger’s hPanel is much more user-friendly, especially for beginners.
Here’s why it’s a great choice:
- ✅ One-click WordPress installer – no technical skills needed.
- ✅ Affordable hosting plans – ideal for beginners and businesses.
- ✅ Optimized for WordPress speed & performance.
- ✅ Free SSL & domain name included with selected plans.
- ✅ 24/7 live chat support for troubleshooting.
Tip: If you’re new to WordPress, Hostinger’s WordPress Starter plans are the best value for money.
Prerequisites Before Installation
Before installing WordPress, make sure you have:
- A Hostinger hosting plan (shared, cloud, or WordPress hosting).
- A domain name (you can register one in Hostinger or use a free one included in your plan).
- Access to your hPanel dashboard (login at Hostinger).
Step 1: Log in to Your Hostinger Account
- Visit Hostinger’s website and click on Log In.
- Enter your email and password to access your account.
- Once logged in, navigate to hPanel (Hostinger’s custom control panel).
Step 2: Navigate to Auto Installer
- In hPanel, find the Website section.
- Click on Auto Installer, which allows you to install applications like WordPress effortlessly.
- From the available options, select WordPress.
Step 3: Configure WordPress Installation
You will be required to fill in essential details for your WordPress setup:
Choose Domain
- Select the domain name where you want to install WordPress. If you have multiple domains, ensure you select the correct one.
Set Administrator Credentials
- Choose a Username: This will be your WordPress admin login.
- Set a Password: Ensure you use a strong password for security.
- Enter an Admin Email: This is where you will receive important notifications about your website.
Website Settings
- Website Title: Enter a name for your website. This can be changed later in the WordPress dashboard.
- Language: Select your preferred language for the WordPress interface.
Advanced Options (Optional)
- Database Configuration: Hostinger automatically configures a database for you, but you can manually adjust settings if needed.
- Installation Directory: If you want to install WordPress in a subdirectory (e.g.,
yourdomain.com/blog), specify the directory. Otherwise, leave it blank to install in the root directory.
Step 4: Install WordPress
- Double-check all the details you entered.
- Click the Install button to start the process.
- The installation may take a few minutes. Once completed, you will see a confirmation message.
Step 5: Access Your WordPress Dashboard
- After installation, visit your WordPress login page:
yourdomain.com/wp-admin. - Enter the admin username and password you set during installation.
- Once logged in, you will be directed to the WordPress dashboard, where you can start customizing your website.
Step 6: Customize Your WordPress Website
Now that WordPress is installed, you can begin personalizing your website:
1. Choose a Theme
- Navigate to Appearance > Themes in the WordPress dashboard.
- Select a theme that fits your website’s purpose.
- Click Activate or Customize to modify the theme settings.
2. Install Essential Plugins
- Go to Plugins > Add New to browse and install plugins.
- Some recommended plugins:
- Yoast SEO (for search engine optimization)
- Elementor (for drag-and-drop website building)
- WP Super Cache (to improve website performance)
- Akismet (to prevent spam comments)
3. Create Essential Pages
- Go to Pages > Add New and create important pages such as:
- Home Page
- About Us
- Contact Page
- Blog Page (if applicable)
4. Configure Site Settings
- Navigate to Settings > General to update your site title, tagline, and timezone.
- Under Settings > Permalinks, choose an SEO-friendly URL structure like Post Name.
Step 7: Secure Your WordPress Website
Security is essential to protect your site from vulnerabilities. Here are some tips:
- Change the default WordPress login URL using security plugins.
- Enable SSL (Secure Socket Layer) by installing an SSL certificate from hPanel.
- Regularly update WordPress, themes, and plugins to patch security issues.
- Use two-factor authentication (2FA) for additional security.
Conclusion
Installing WordPress using hPanel in Hostinger is a straightforward process. With just a few clicks, you can have a fully functional website ready to customize and launch. By following the steps in this guide, you’ll be able to complete the installation smoothly and set up your website with ease.
Moreover, if you encounter any problems, Hostinger’s customer support and knowledge base are readily available to help you.


Comments
One response to “How to Install WordPress Using hPanel in Hostinger – Step-by-Step Guide”